*This post contains affiliate links.
Half painted walls are a brilliant way of injecting some colour into your home, in a way that’s perhaps less scary than going floor to ceiling in a strong colour.
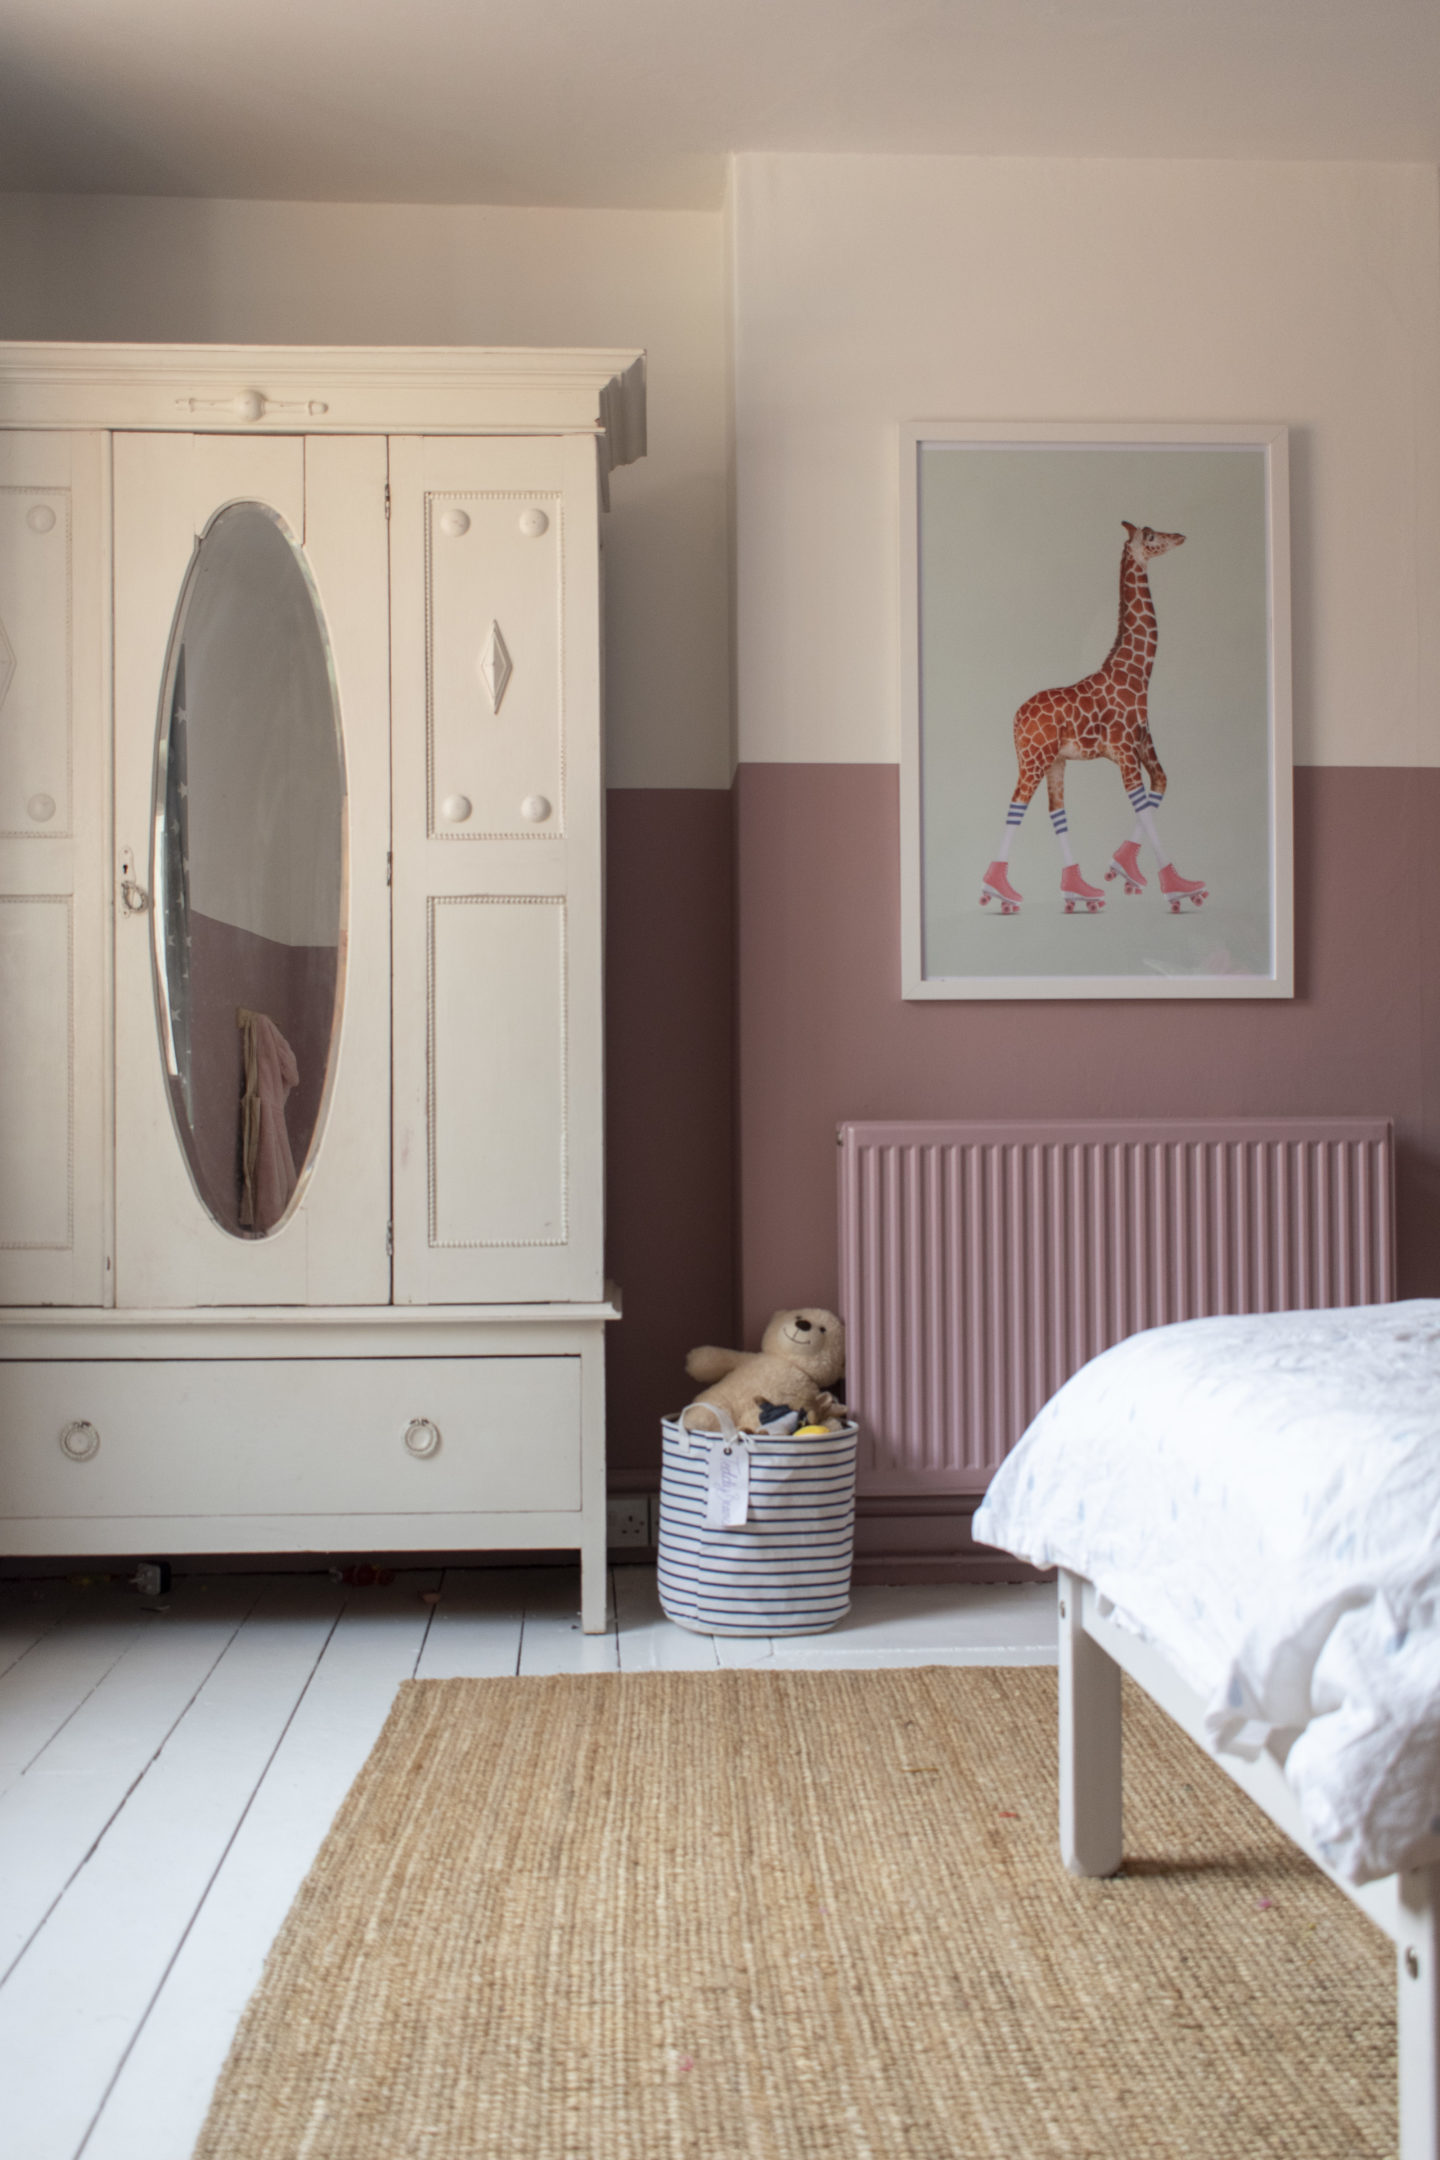
Last spring, I redecorated my youngest daughter, Elodie’s room using this technique. A year later and I still love what we’ve done. One great thing about it is that the darker pink on the lower half of the wall, helps to disguise mucky fingerprints. A benefit that is much needed in this house!
Anyway, if you’re reading this, I suspect you’re looking for a pointer on how to get this look in your own home. Spoiler: it’s as easy as it looks. So, I’ll keep this guide brief and leave you to get on with your decorating!
What you’ll need:
Frog Tape (don’t be tempted to buy another brand, this one is the best!)
Pencil
Tape measure
Spirit Level.
Your chosen paint. The colour we used is Farrow and Ball, Cinder Rose.
Method:
Start by painting your walls in the lighter shade first.
We chose to paint the top half of the room white. If I were to repaint the room again, I think I would have chosen a slightly off white, so that there’s less contrast between the two colours.
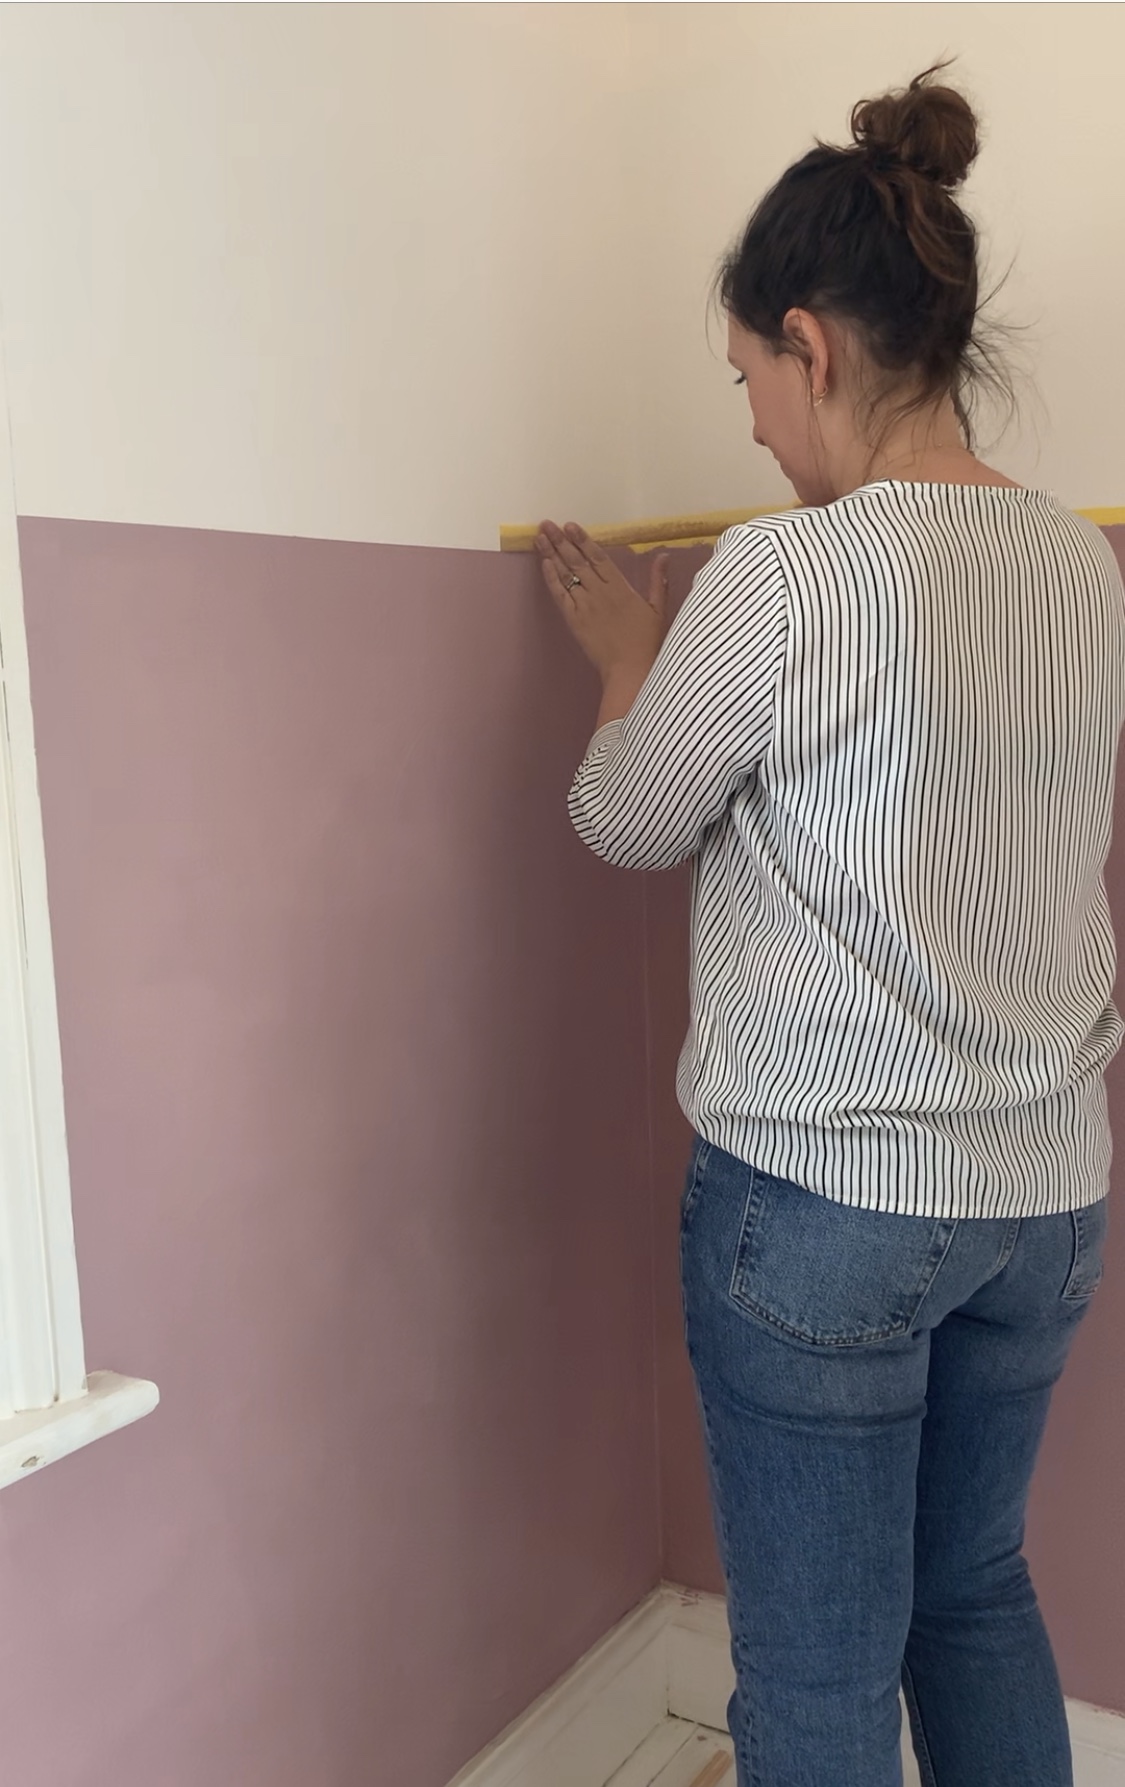
Once the top half of the walls have dried, you can begin masking the lower section.

Start by deciding where you would like the colour to begin. There is no rule for this, as it’s more a case of personal taste. In my daughter’s room, I went for a little over half and a little under two thirds high.
To mask, I made a series of marks along the wall using my pencil and tape measure, to keep the height the same. It can be helpful to use a spirit level to check that you are measuring up in straight lines, and not on a diagonal, which would make the heights of your marks uneven.
Once you have a series of marks around the whole room, you can begin masking. I ran my tape between the pencil marks, checking it was level, as I go.
If you make any mistakes, just take that section of tape down and start again. Much better to correct any mistakes before the paint goes on.
Once the room is sectioned off, begin painting along the outlines, using a paint brush. As soon as you’ve done all the edging, you can move onto a roller for the rest of it.
Once that, has dried, you will likely need a second (or even a third) coat of paint. Once, you’re happy with the coverage, remove the masking tape while the paint is still damp. This will help to prevent any unwanted flaking.
And that’s it, it really is that simple!
If you’d like to see some photos of the finished room, you can read about it in Elodie’s bedroom tour post.


Hey Kerry!
Love this guide. I just wondered if you had any advice for high ceilings – should the dark paint start less than half way, half way or 2/3rds?
Thanks
Author
Hi I don’t think there’s a hard and fast rule, just a matter of preference. If you want a guide to work to, then working with the rule of thirds can be helpful, you could paint a third or two thirds up the wall and that should work well. My preference would be to take the colour 2/3 of the way up the wall, but there’s no wrong or right answer.